The KAPtery closed on December 31, 2024. Products can no longer be ordered from these pages. Some products are available for purchase from Ennapurna in France. For questions, replacement parts, special requests, or leftover inventory, use the Contact page above.
Saturn V and SkyShield
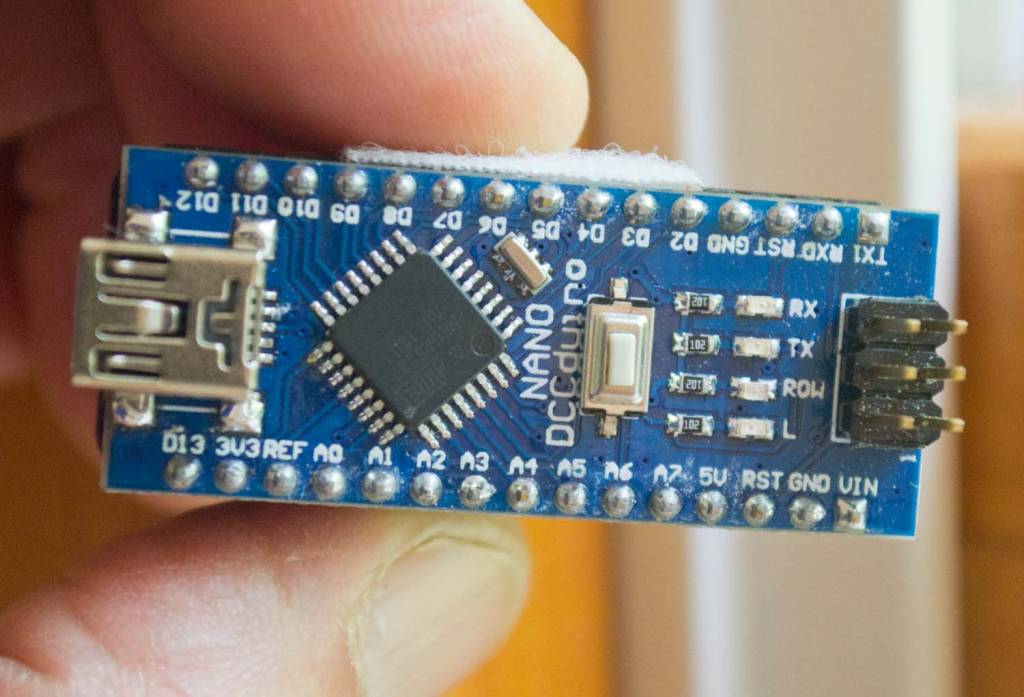 |
| A DCCduino clone of an Arduino Nano. Includes the Atmel Mega 328P processor. |
I then searched ebay for the servo motors that can be controlled by Arduinos. The two servos on the pan/tilt KAP rig I bought from Brooxes.com in 2012 cost about $12 to $25 apiece. Today, many ebay sellers have smaller servos for sale for under $5.00. I was startled by the possibilities, and not knowing how to react, I just ordered a whole bunch of stuff.
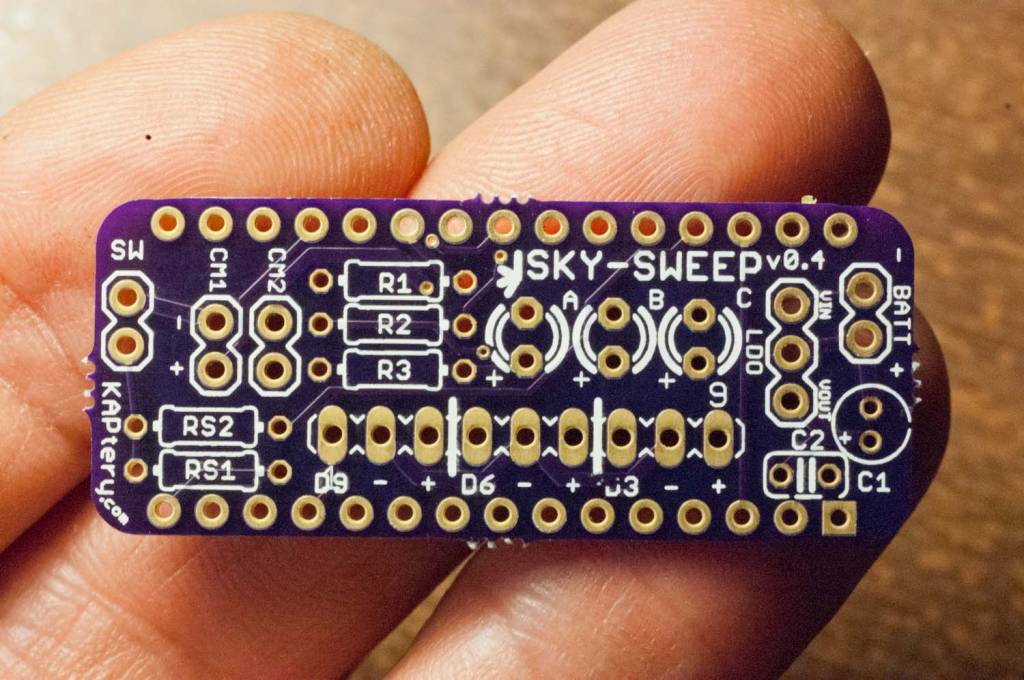 |
| The first Sky-Sweep shield (I think it's called the SkyShield now). Something needs to be soldered into all of those holes. |
 |
| The first SkyShield fully populated with components and connected to the Nano. The first one worked like a charm. |
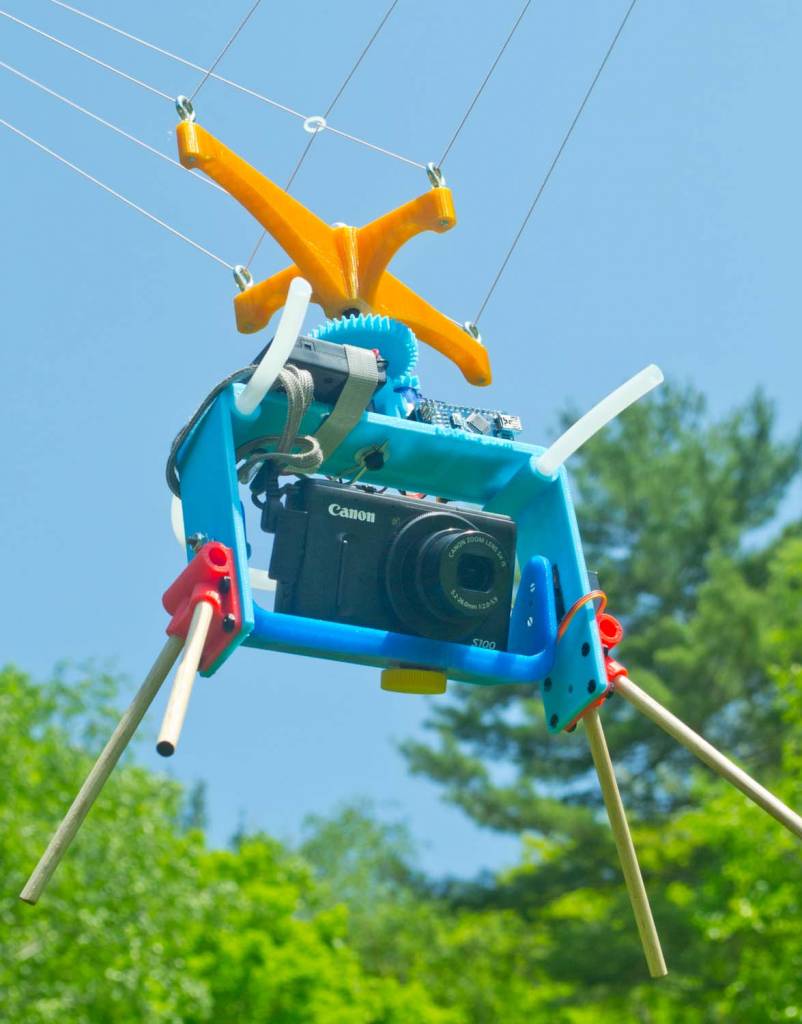 |
| The Saturn V Rig ready to fly with a SkyShield operating the pan and tilt servos and the camera. |
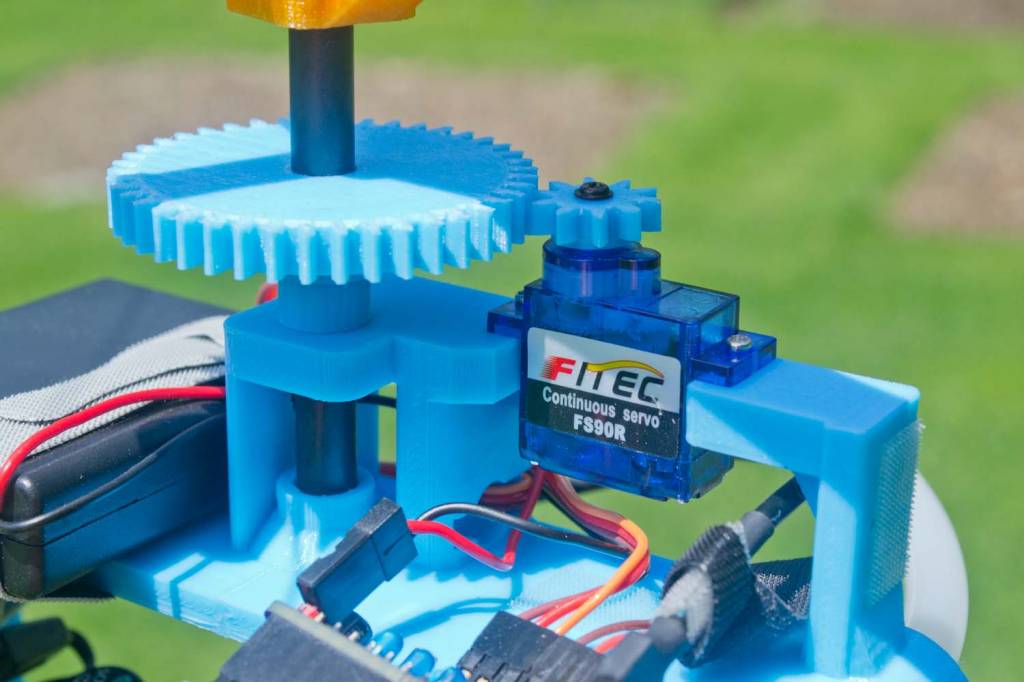 |
| The pan servo cannot support the weight of the rig, the Picavet shaft has to do that. So the servo has to rotate the Picavet shaft with these gears. The 3D printed superstructure is required to hold the shaft firmly and support the servo. This servo is a continuous rotation servo which can turn indefinitely. Standard servos (like the tilt servo) can just go back and forth within about 180 degrees. |
I had also been designing the camera frame which the servos would pan and tilt. I found some gears on Thingiverse which could be modified for the panning mechanism, and after the MakerBot printed several not quite viable test versions, I had a working prototype of the rig. Two days before the iFARM meet-up in New Hampshire, I suspended the new Saturn V Rig with SkyShield in my back yard and let it point and shoot while I took photos of it. At iFARM the rig was lofted by a kite on its maiden 30 minute flight and returned 550 photos. See more of these aerial shots at Public Lab.

The first 360° panorama taken by the Saturn V Rig with SkyShield. I happened to grab an infrared camera to put on the rig. The mode was eight pan and four tilt positions, and this includes three of the four rows.
I ordered three more SkyShield PCBs, and I have a few completely assembled units for sale to anyone who wants to try the first version of the Saturn V autoKAP Rig. We will probably refine a few things in the next month or two, but the current version works great and I am hoping to get some feedback from beta testers. So I am offering fully assembled, working rigs for less than I will eventually have to charge for a build-it-yourself kit. Just add your camera and it will be ready to fly. Then post a note or two at Public Lab about how it went.

On the maiden flight at iFARM I failed to tighten a set screw and the Picavet shaft slipped each time the servo tried to pan the rig. This is stitched from one row of eight photos which don't quite cover 360°.
A surprising and rewarding aspect of this project is that it took only seven weeks from researching a vague idea to offering a unique product for sale. This is due largely to Don Blair’s help and also to the phenomenon of Arduino – a tiny, six gram, open-source computer for $5.00 which has an online community that makes the critical knowledge available to all. Not all problems can be solved with cheap electronics and 3D printing, but it sure is fun to find one that can.
Below is a video of the Saturn V Rig in action.
A guide to the assembly and use of the beta rig is here. Take a look and consider joining the beta team.
