The KAPtery closed on December 31, 2024. Products can no longer be ordered from these pages. Some products are available for purchase from Ennapurna in France. For questions, replacement parts, special requests, or leftover inventory, use the Contact page above.
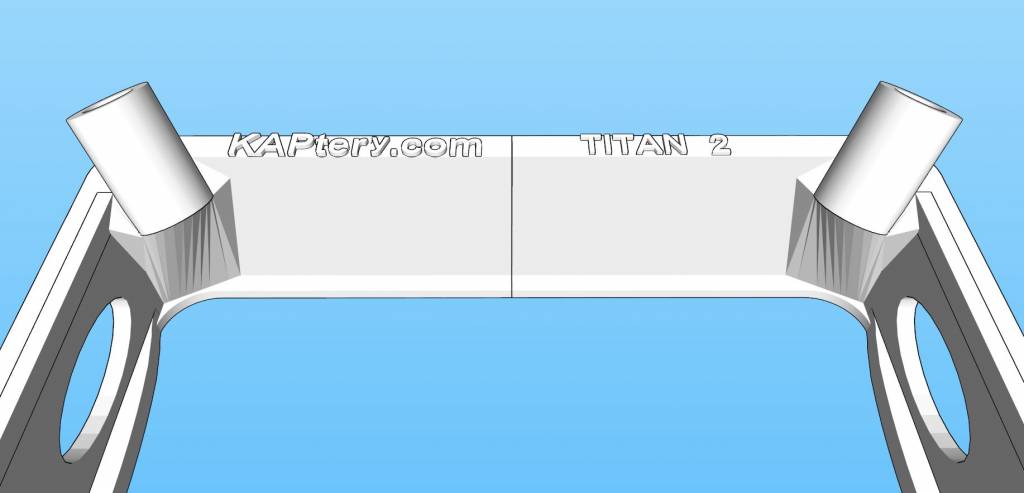
Inside a Titan
The 3D model for the Titan 2 camera tray is the most complex model I have made. It's a rather big rig for kite aerial photography, but the job it has to do is straightforward: 1) hold two cameras pointed in the same direction, 2) be strong and rigid yet lightweight, 3) allow easily detachable legs, 4) allow the tray to be either tilted or horizontal, and 5) allow easy, balanced attachment to a frame. The real challenge was to make such a model that would be easy to print on a small 3D printer.
 |
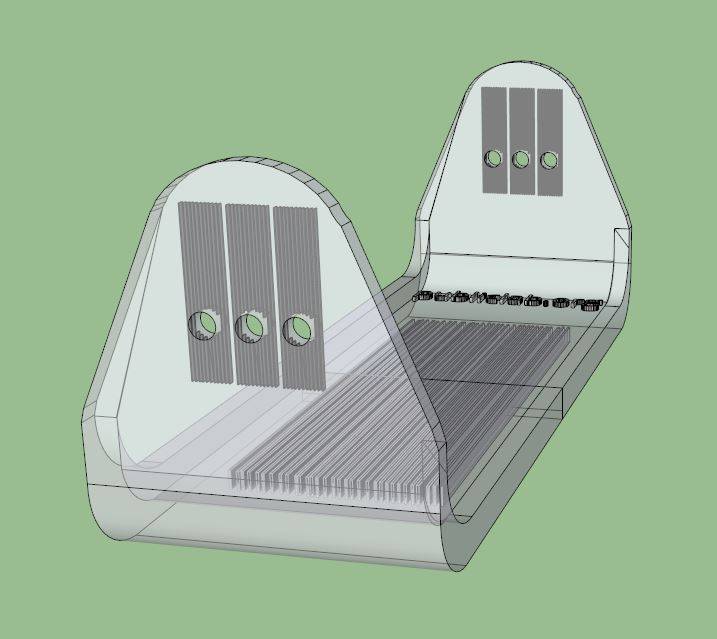
| The Titan 2 Rig tray has seven areas of internal structure which print more solid than the rest of the part. The oval windows have removable grids of support so their ceilings are smoother. |
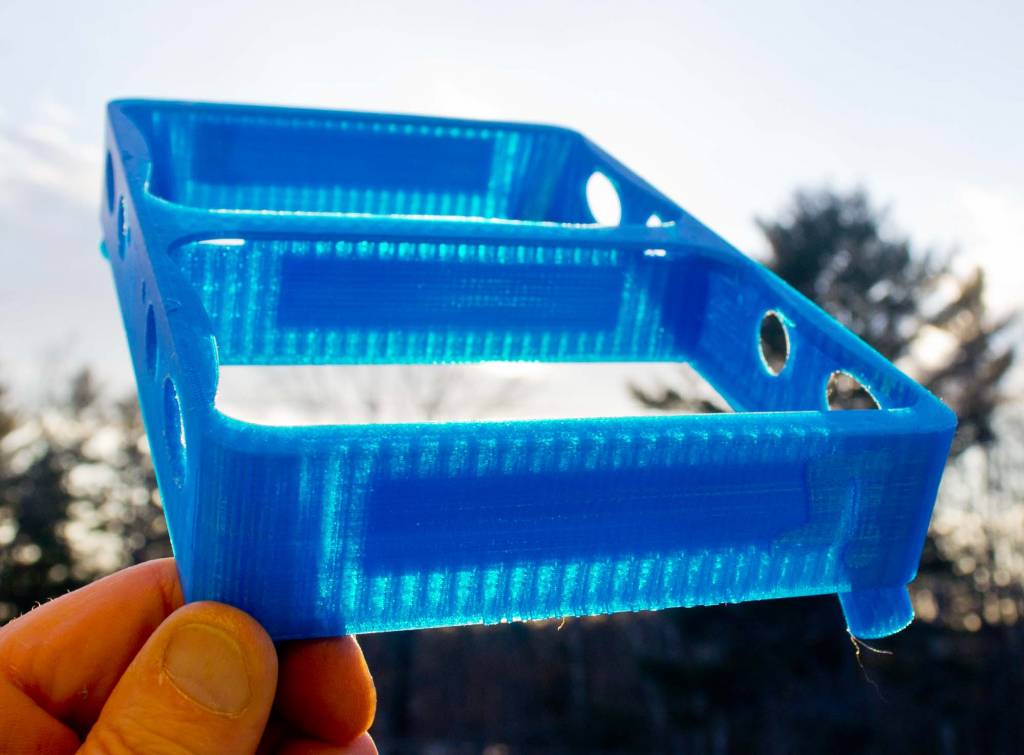 |
| This blue PLA plastic transmits enough light to allow internal structure to be seen. The three big drill pads for tripod bolts are visible. The vertical stripes are the honeycomb structure from the side. |
The constraints imposed by 3D printing are myriad. Printing is slow, especially if parts are solid. So parts are typically mostly air with a network of plastic strands or plates. That affects strength, so the proper combination of part thickness and fill is needed. If bolts will connect parts together, that area of the part has to be solid enough so it will resist compression. The Titan 2 Rig tray has seven areas where bolts might be tightened, and each has to be more solid than the rest of the tray. These areas have thin plates inside the walls of the 3D model which slicing programs try to recreate in their instructions to the printer for where to put plastic. The largest of these areas are on the camera platforms where holes for a tripod bolt must be drilled. This hole could be anywhere, so most of the platform is a more or less solid drilling pad.
The 20 second video above has no audio.
Size is a constraint with the Titan 2 tray because the build platform of a MakerBot Replicator 1 is just big enough for a tray that can hold two point & shoot cameras. I wanted the leg brackets at the corners of the tray to angle outwards so the legs did not get photographed, but that caused them to exceed the horizontal limits of the build area. So the brackets had to be tucked inwards so they could angle outwards, and that required building special supporting structures without impinging too much on the cameras' space.
Two aborted prints of Titan 2 Rig trays. One print was stopped when only 5 mm high (left) and the other was stopped later at a height of about 10 mm (right). The camera platform is filled with honeycomb except for the area of the drill pad which is essentially solid plastic. The earlier aborted print on the left had not reached the level of the drill pad. MakerWare is the only slicer I have been able to use on this part.
To make it easy to print a part, it’s really nice if there are no overhangs that require support. FDM (fused deposition modeling) printers have to build the part bottom-to-top and can deposit plastic only on top of other plastic. Slicing programs decide where temporary structures have to be built alongside the part to support overhangs, but these require more time, can fail, and sometimes are messy to remove. The Titan 2 tray was designed so it will print without support. That required some compromises, but it makes it possible for more people to print their own easily. The big oval windows are marginal for printing with no support, so I added a thin grid inside them. This ensures that the ovals don’t sag and the thin plastic is easy to remove. But it was too thin for my primary slicing program, Simplify3D, to deal with. Coincidentally, that program also choked on other aspects of the model, so I could only slice it in MakerWare. It’s the only KAPtery part that I don’t slice in Simplify3D.
 |
| The angled leg brackets could not extend outside the build area so they had to be shifted inwards. This way they do not increase the horizontal dimensions of the required build area and the whole tray can be printed larger. |
 |
| It took me a long time to figure out how to make the supports for the angled leg brackets strong enough without severely limiting the space available for the cameras to fit on the end platforms. The supports also had to print without support, hence the gently angled sides. |
 |
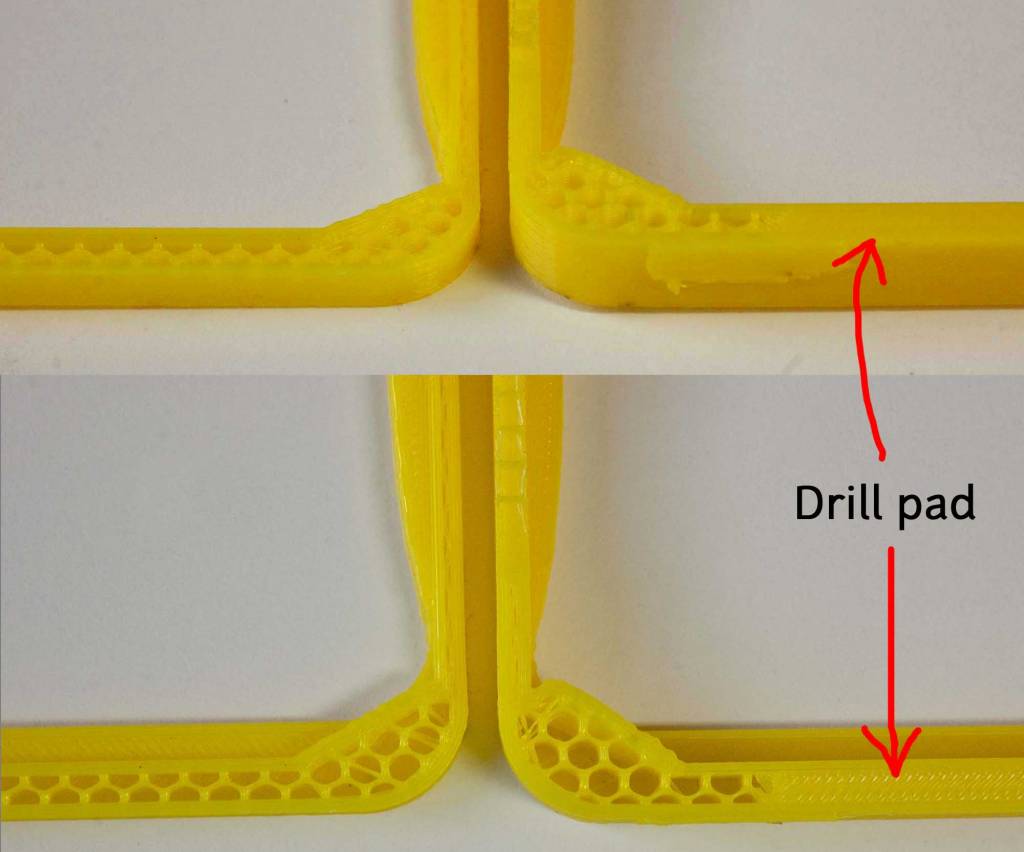
| Both of the wide versions of the Redstone camera tray have alternate bolt holes for attachment to the frame, but also have drill pads in case a new hole must be drilled to balance a camera. A large pad fills the bottom of the tray for drilling the tripod bolt hole. |
 |
| These are Wide Trays for the Redstone Rig and have large drill pads of dense plastic in their bases. These models were sliced with Simplify3D and do not have the honeycomb structure typical of parts sliced with MakerWare. Simplify3D's crisscrossing strands are not as strong as MakerWare's honeycomb, so I make the grid tighter than I would with MakerWare. |
